Thinning scissors, otherwise known as thinning scissors, are an excellent way to cut the volume of curly or thick hair, creating it more manageable and sleeker. They can be used to supplement standard hairbrushes and can be used to add texture and layers to more edgier haircuts. Unlike regular scissors, thinning scissors offer a more precise cut and require less physical effort than their thicker counterparts. This is because thinning scissors operate using finer blades that are much narrower than those of regular scissors. The result is that thinning scissors to create a very clean edge that is close to perfectly straight and never extends past the edges of the hair shaft.
In order to get the most out of hair cutting with thinning scissors, it is necessary to first understand how they work. To begin, a fine blade is attached to the end of the thinning scissors handle via a metal clip. Once this is secured, the thinning scissors are gripped by a second clip, this time on the side of the blade that runs parallel to the handle. As the cut starts, the hair is pulled toward the scissors in small circles and then cut. This circular motion provides the edges of the cut with a more defined edge.
For best results, hair should be wet when you attempt a haircut. Wet hair helps to increase the body of the cut, meaning there will be more defined edges and less hair flying everywhere. It also makes it easier to get a clean, sharp cut since the hair will be combed into the cut rather than stuck up on the sides. If the hair is dry, it will not provide as much definition or will often stick up more than necessary.
When using curly hair for your new haircut, it is important to remember not to cut straight across the grain. Instead, use your thinning scissors to soften the layers of hair that run the length of the strands. Use the blades to go in at either ends of the strands, beginning with the shortest piece. Work your way towards the center and then towards the front. You want the layers to come together to make a smooth layered look. After you are finished blending, you will want to add in more hair at the front so that the final product looks exactly how you want it to.
Another important step in creating the desired style is to start thinning your hair from the roots upward. Begin by using the center of your comb as a guide as you pull hair gently through the comb. Once you have completed the desired style, you can remove the comb and trim any extra hairs that may have become caught in the teeth of the scissor. Using your fingers, gently pull the scissor away from your scalp until all of the hair has been removed.
The last step in creating your own hairstyle with thinning scissors involves the process of drying. To do this, take the scissors and cut a small amount of hair from the root of the hair to make a small ball. Using a hair dryer, blow air through the ball of hair for about a minute or so. Once the air has dried, you can remove the hair from your head with a normal hair dryer and then use thinning scissors to cut the loose hair. If you have time, trim the extra hair so that it is just a few strands down from the roots.
When it comes to the cutting part of the process, many people are intimidated by the task. However, it is a relatively easy process. One of the easiest ways to do this is to use a pattern of thinning scissors that you have made. The pattern can be cut into one side of the scissor and then used as a guide when cutting the other side. Since there are so many different patterns to choose from, you will not have any problem finding one that suits your personal needs.
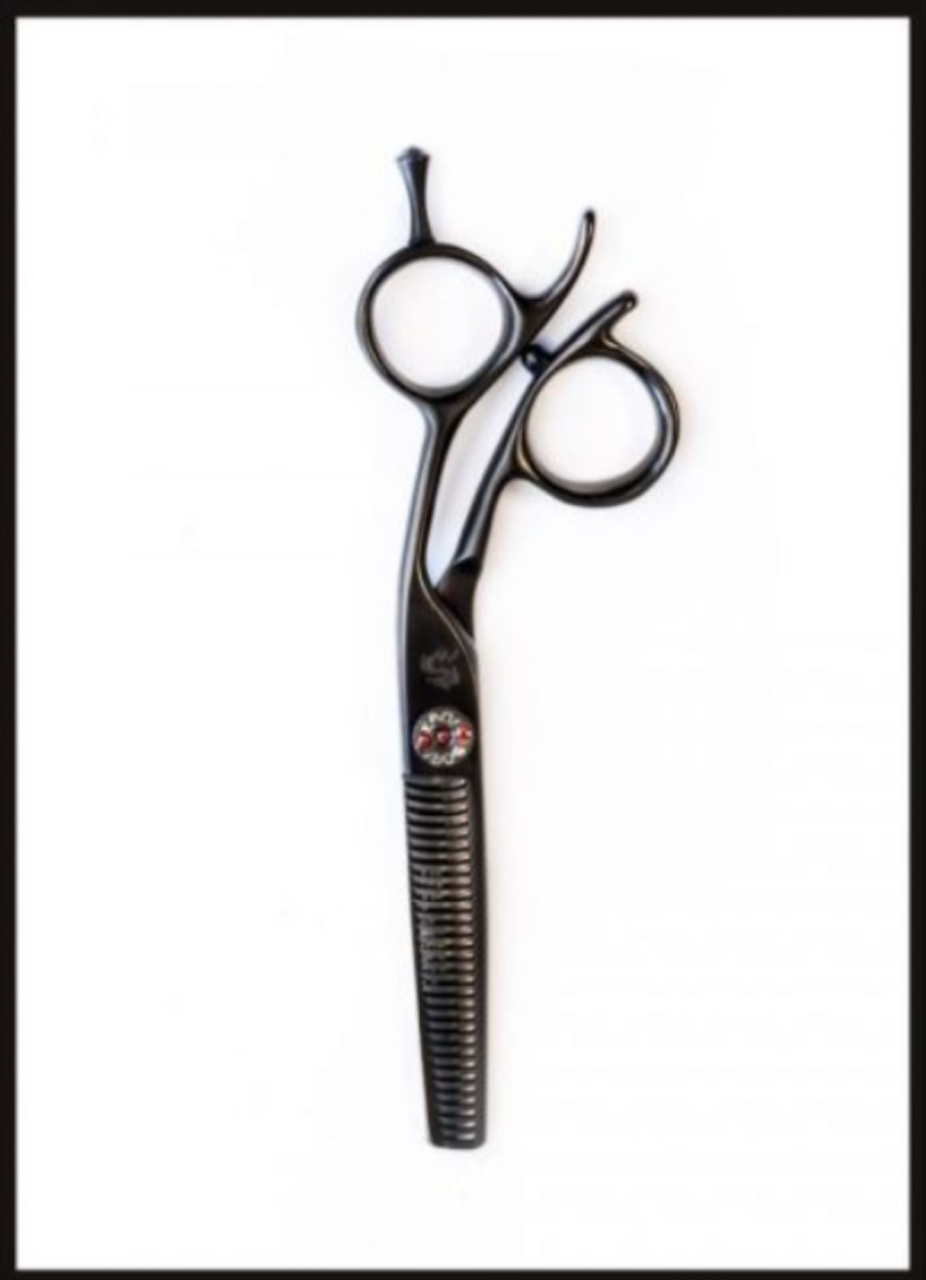
In addition, you may want to consider the different types of thinning scissors that are available to you. There are many different types of texturizing shear available, including those that come in serrated edges. Serrated edges are great if you need a heavier effect, and there are different types of blade configurations that can be used, including round edges, serrated edges, sharp edges, and others. When you use thinning scissors to create the different types of textures, you will be able to create the perfect look for any particular situation.